
Materials:
*Cardboard box
*White fabric
*Tape (I used a roll of electrical tape I had laying around, although I wouldn't recommend using it for your project. It doesn't like to stick to fabric very well)
*Scissors
*Clamp on light
* A bright white daylight bulb
*White paint and paintbrush
*White piece of paper/poster board

First, I cut out the top and two sides, leaving about an inch border around each cut-out. (in the future, I would probably leave 2 inches around each cut-out, It would've made taping the cloth easier)DO NOT CUT the bottom or back of the box.
*save the cutouts! You will need them later...

This is what mine looks like from the top.
Next, you will want to paint the inside edges white.


Then find an old white shirt...here's one!


Ok, so I cut the shirt up the side and through the middle of the armpit. Then used the cut-outs I saved as a template on how big to cut my rectangles. NOTE: I cut the rectangles about an inch larger than the template on all 4 sides. (I did all of the cutting by eye, who has time for precise measurements anyway?)

Anywho, back to the project...
Next, I taped the cloth pieces to the outside of the box, making sure that it was taught.


Next, take your poster board and cut it lengthwise to size of you box. Place it inside the box, making sure it curves down to the bottom. If you crease or bend the paper in anyway, it will show up in your photos.

Clamp the light so that it is pointing down over the top of the box and you are ready to shoot! I clamped mine to a curtain rod which happens to be at the perfect height for my box.
Here are some examples of pictures I took with my new light box. I used absolutely NO Photoshop or enhancing in any way.


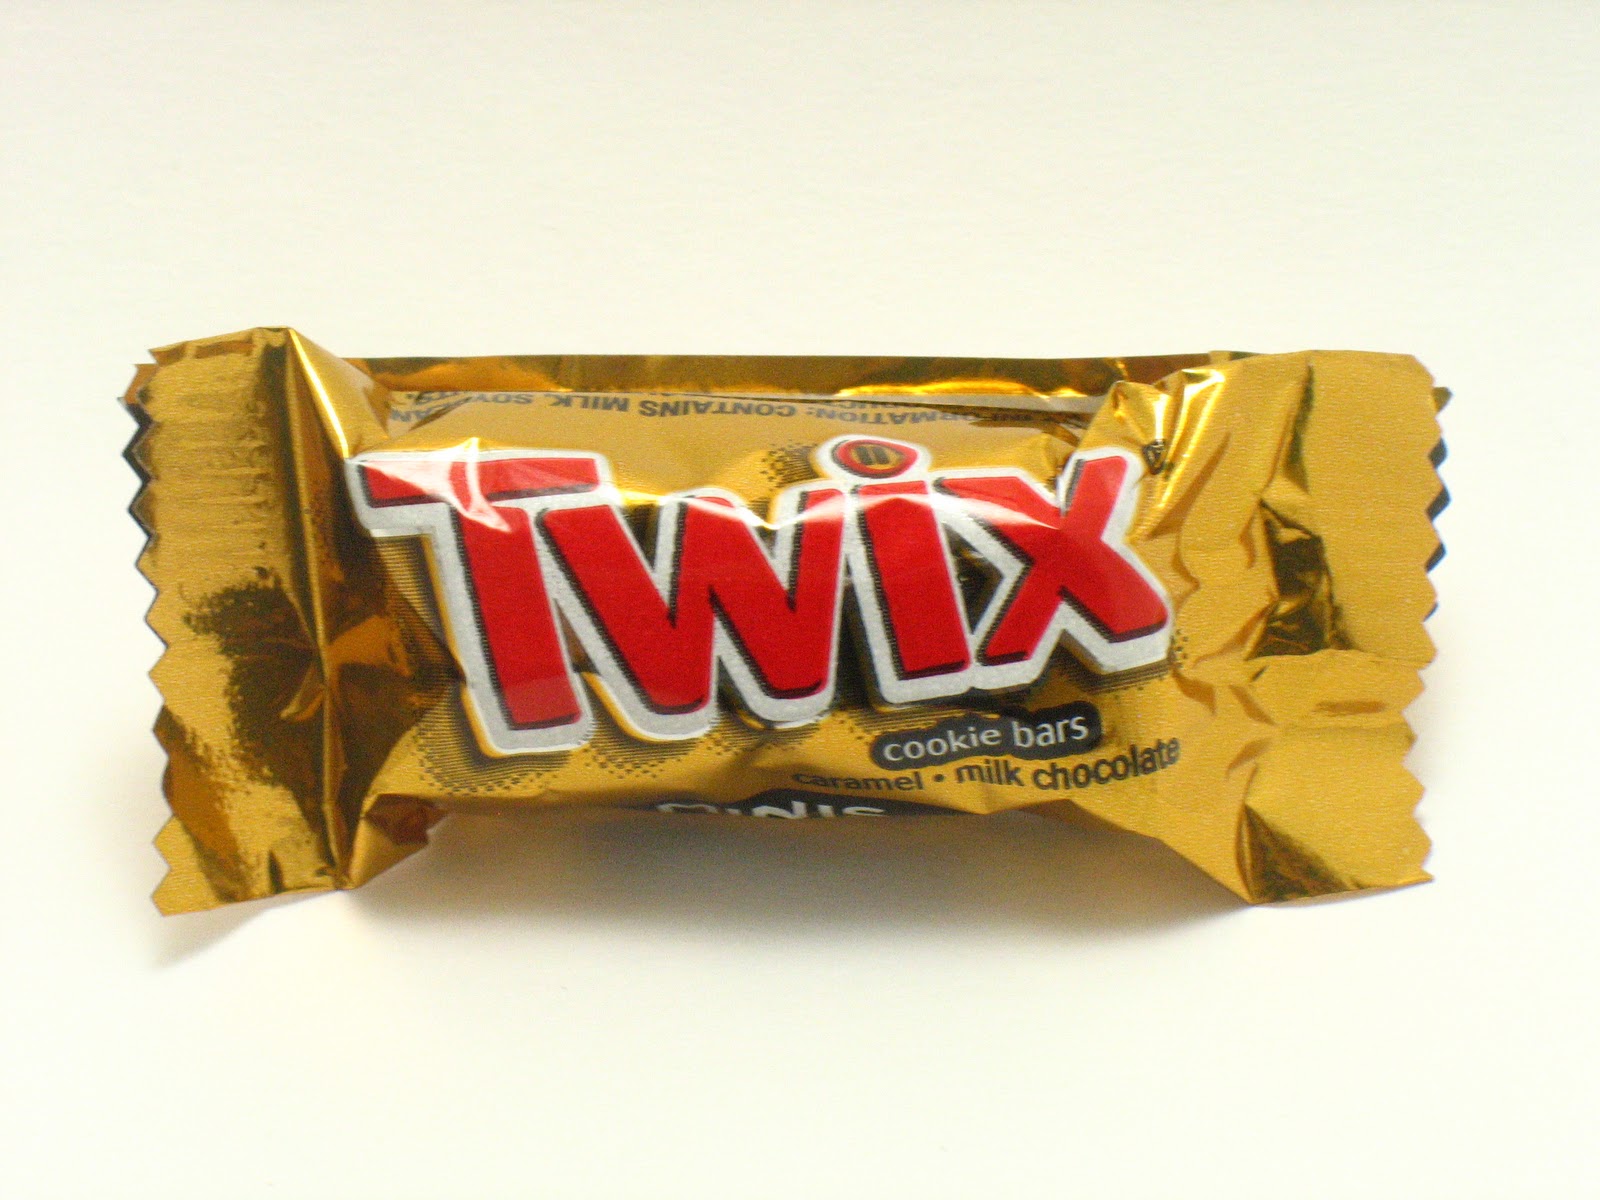

Now for some real product shots...


Beautiful. You know I love a white background! No distraction from the masterpiece. So glad to have found a new post.
ReplyDeleteGreat tutorial! I've been using tissue paper for the sides. But I think the T-shirt is a much better idea! Thanks!
ReplyDelete